Manymore Partner API
The partner API is built using GraphQL and is designed for businesses wishing to automate the salary payment process for their freelance workforce.
You can get access to the API sandbox here
GraphiQL
A GraphiQL IDE is provided for developers to easily start experimenting with the API.
The left window is the query editor, and the right window displays the result returned by the API.
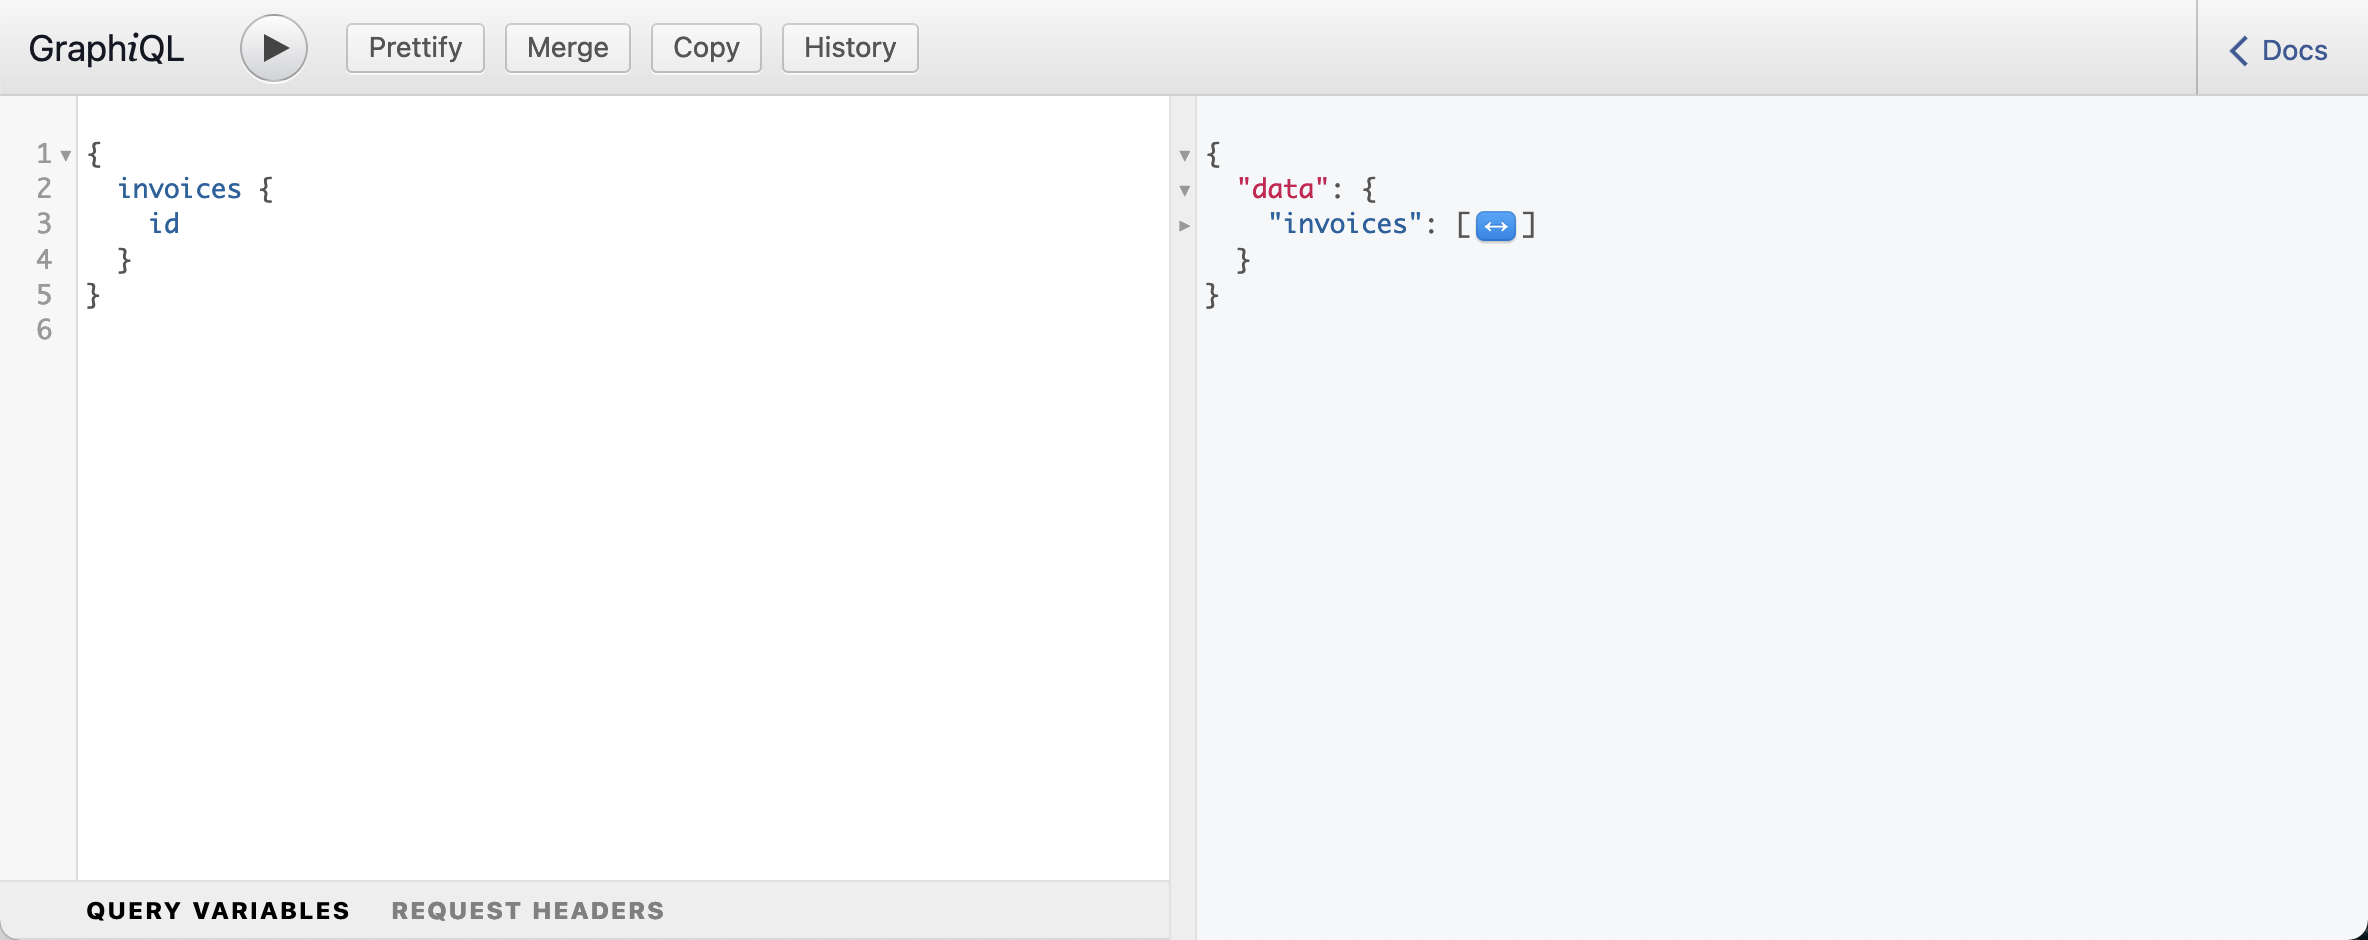
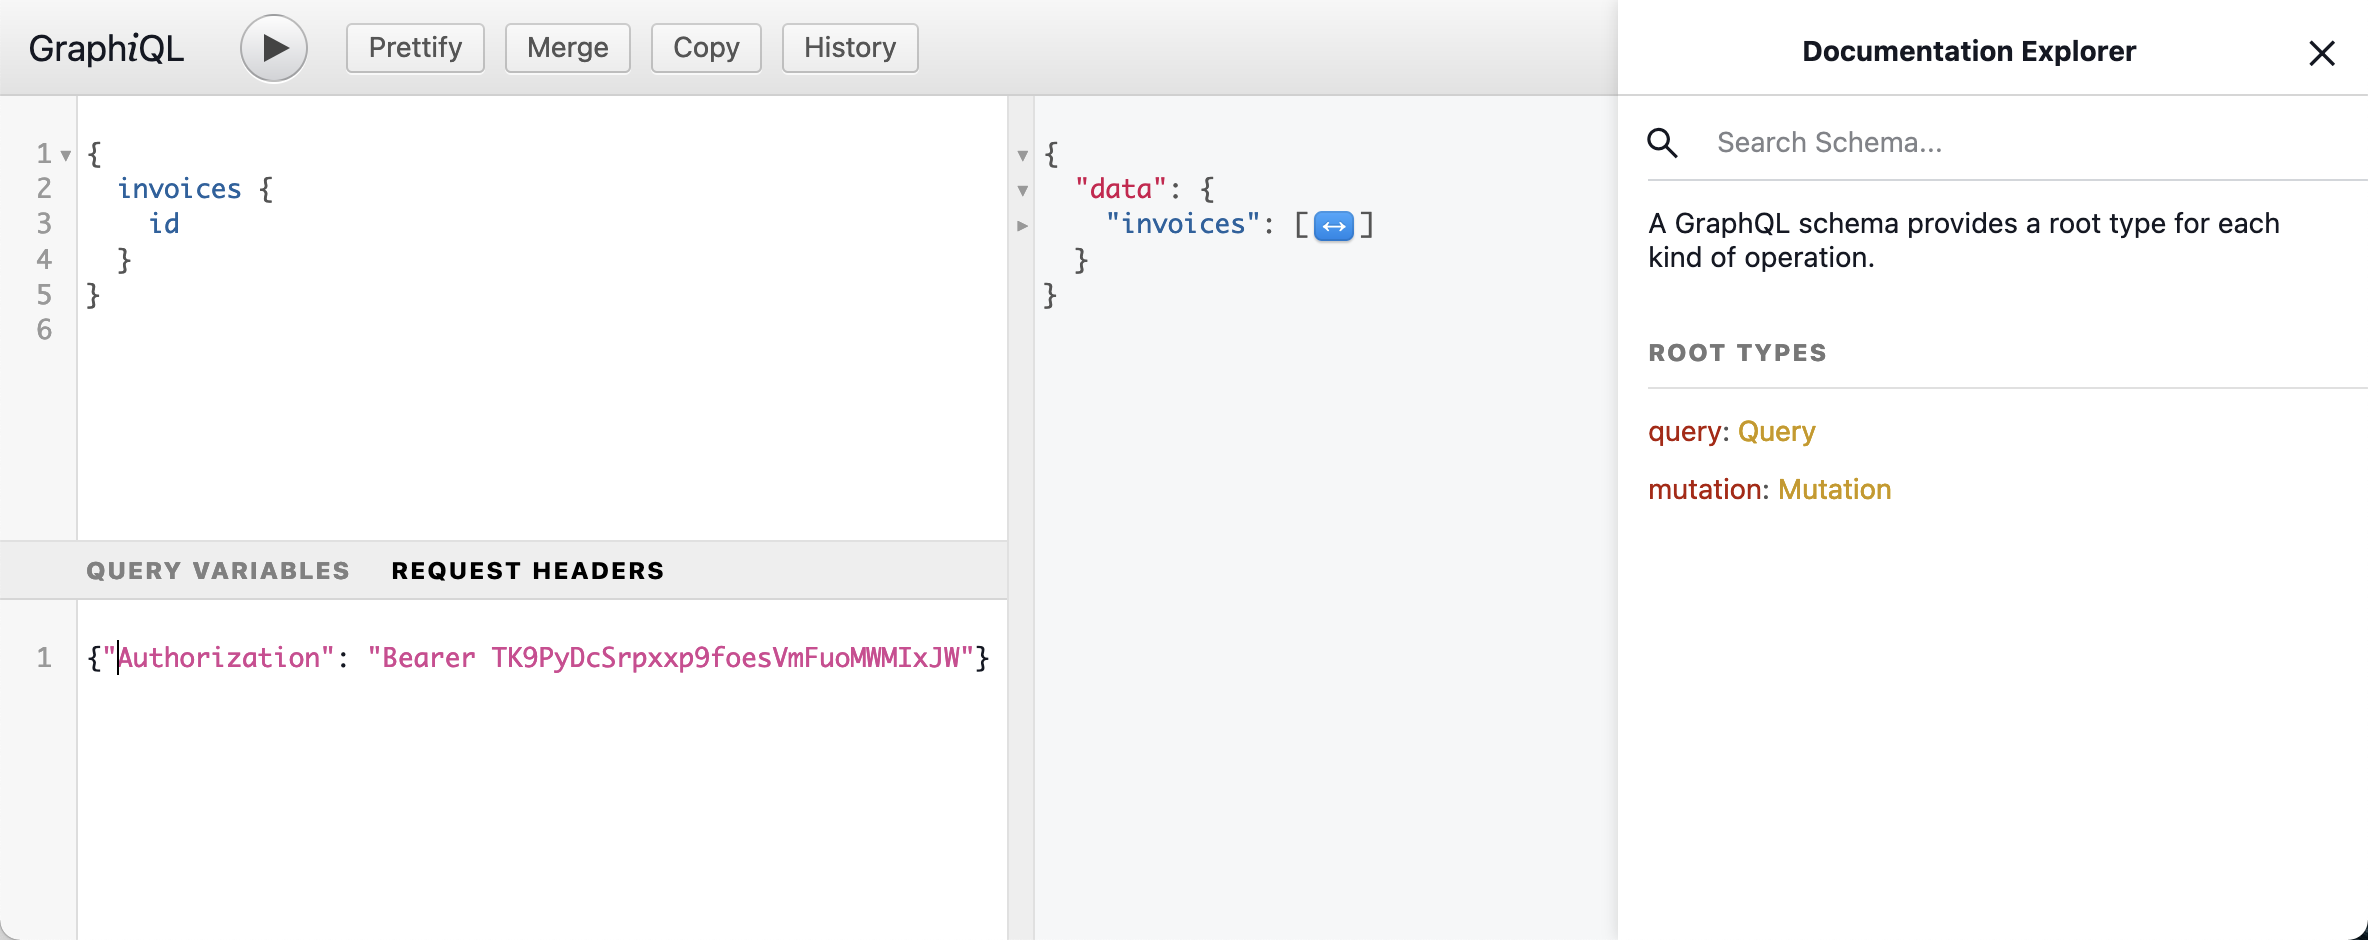
The 'Docs' button in the top right corner will open the Documentation Explorer. In it you can find information about all available queries and mutations.
The 'Request Headers' button in the bottom left corner will bring up the
headers window. In it you'll have to provide your API key in the format
{"Authorization": "Bearer <key>"}
Issuing a payout
To issue your first payout you'll have to take the following steps:
- Find or create a client (invoice receiver) record
- Find an occupation code that best describes what your freelancer is doing
- Import the information about your freelancer
- Create and submit an invoice
Finding a client record
When your partner account is set up, we will create a client record for you with your company's details.
You can your list of clients with the following query:
Pick a client record that you want to use for your invoices. You'll have to use the client's ID when creating an invoice.
Finding an occupation code
Once you know which norwegian occupation codes describe your freelancers' tasks, you can find corresponding occupation code records in the API.
Use the following query to get an occupation code record:
Save the occupation code ID for later use.
Importing a freelancer
We need a bunch of information about a freelancer before we can issue a payout. You can send the requred information using the 'importEnrollment' mutation:
Save the ID of the enrollment. You'll be using it to issue payouts to the freelancer.
Creating an invoice
Use the client ID, occupation code ID and enrollment ID from the previous responses to create an invoice:
Save the ID of the invoice. You'll need it to submit the invoice.
Webhooks
You can receive notifications about certain updates in the form of webhooks. To start receiving webhooks, configure the 'Webhook URL' option in your account settings. Updates to the following types of records will trigger a webhook:
- Job Application
- Enrollment
Manymore will send an HTTP POST request to the configured webhook url with a JSON body of the following format:
You are expected to retrieve the information about the upadet object via the GraphQL API.